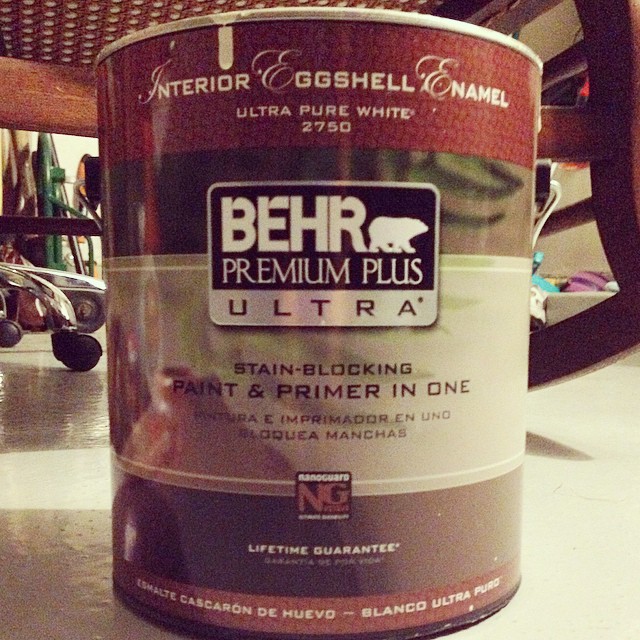
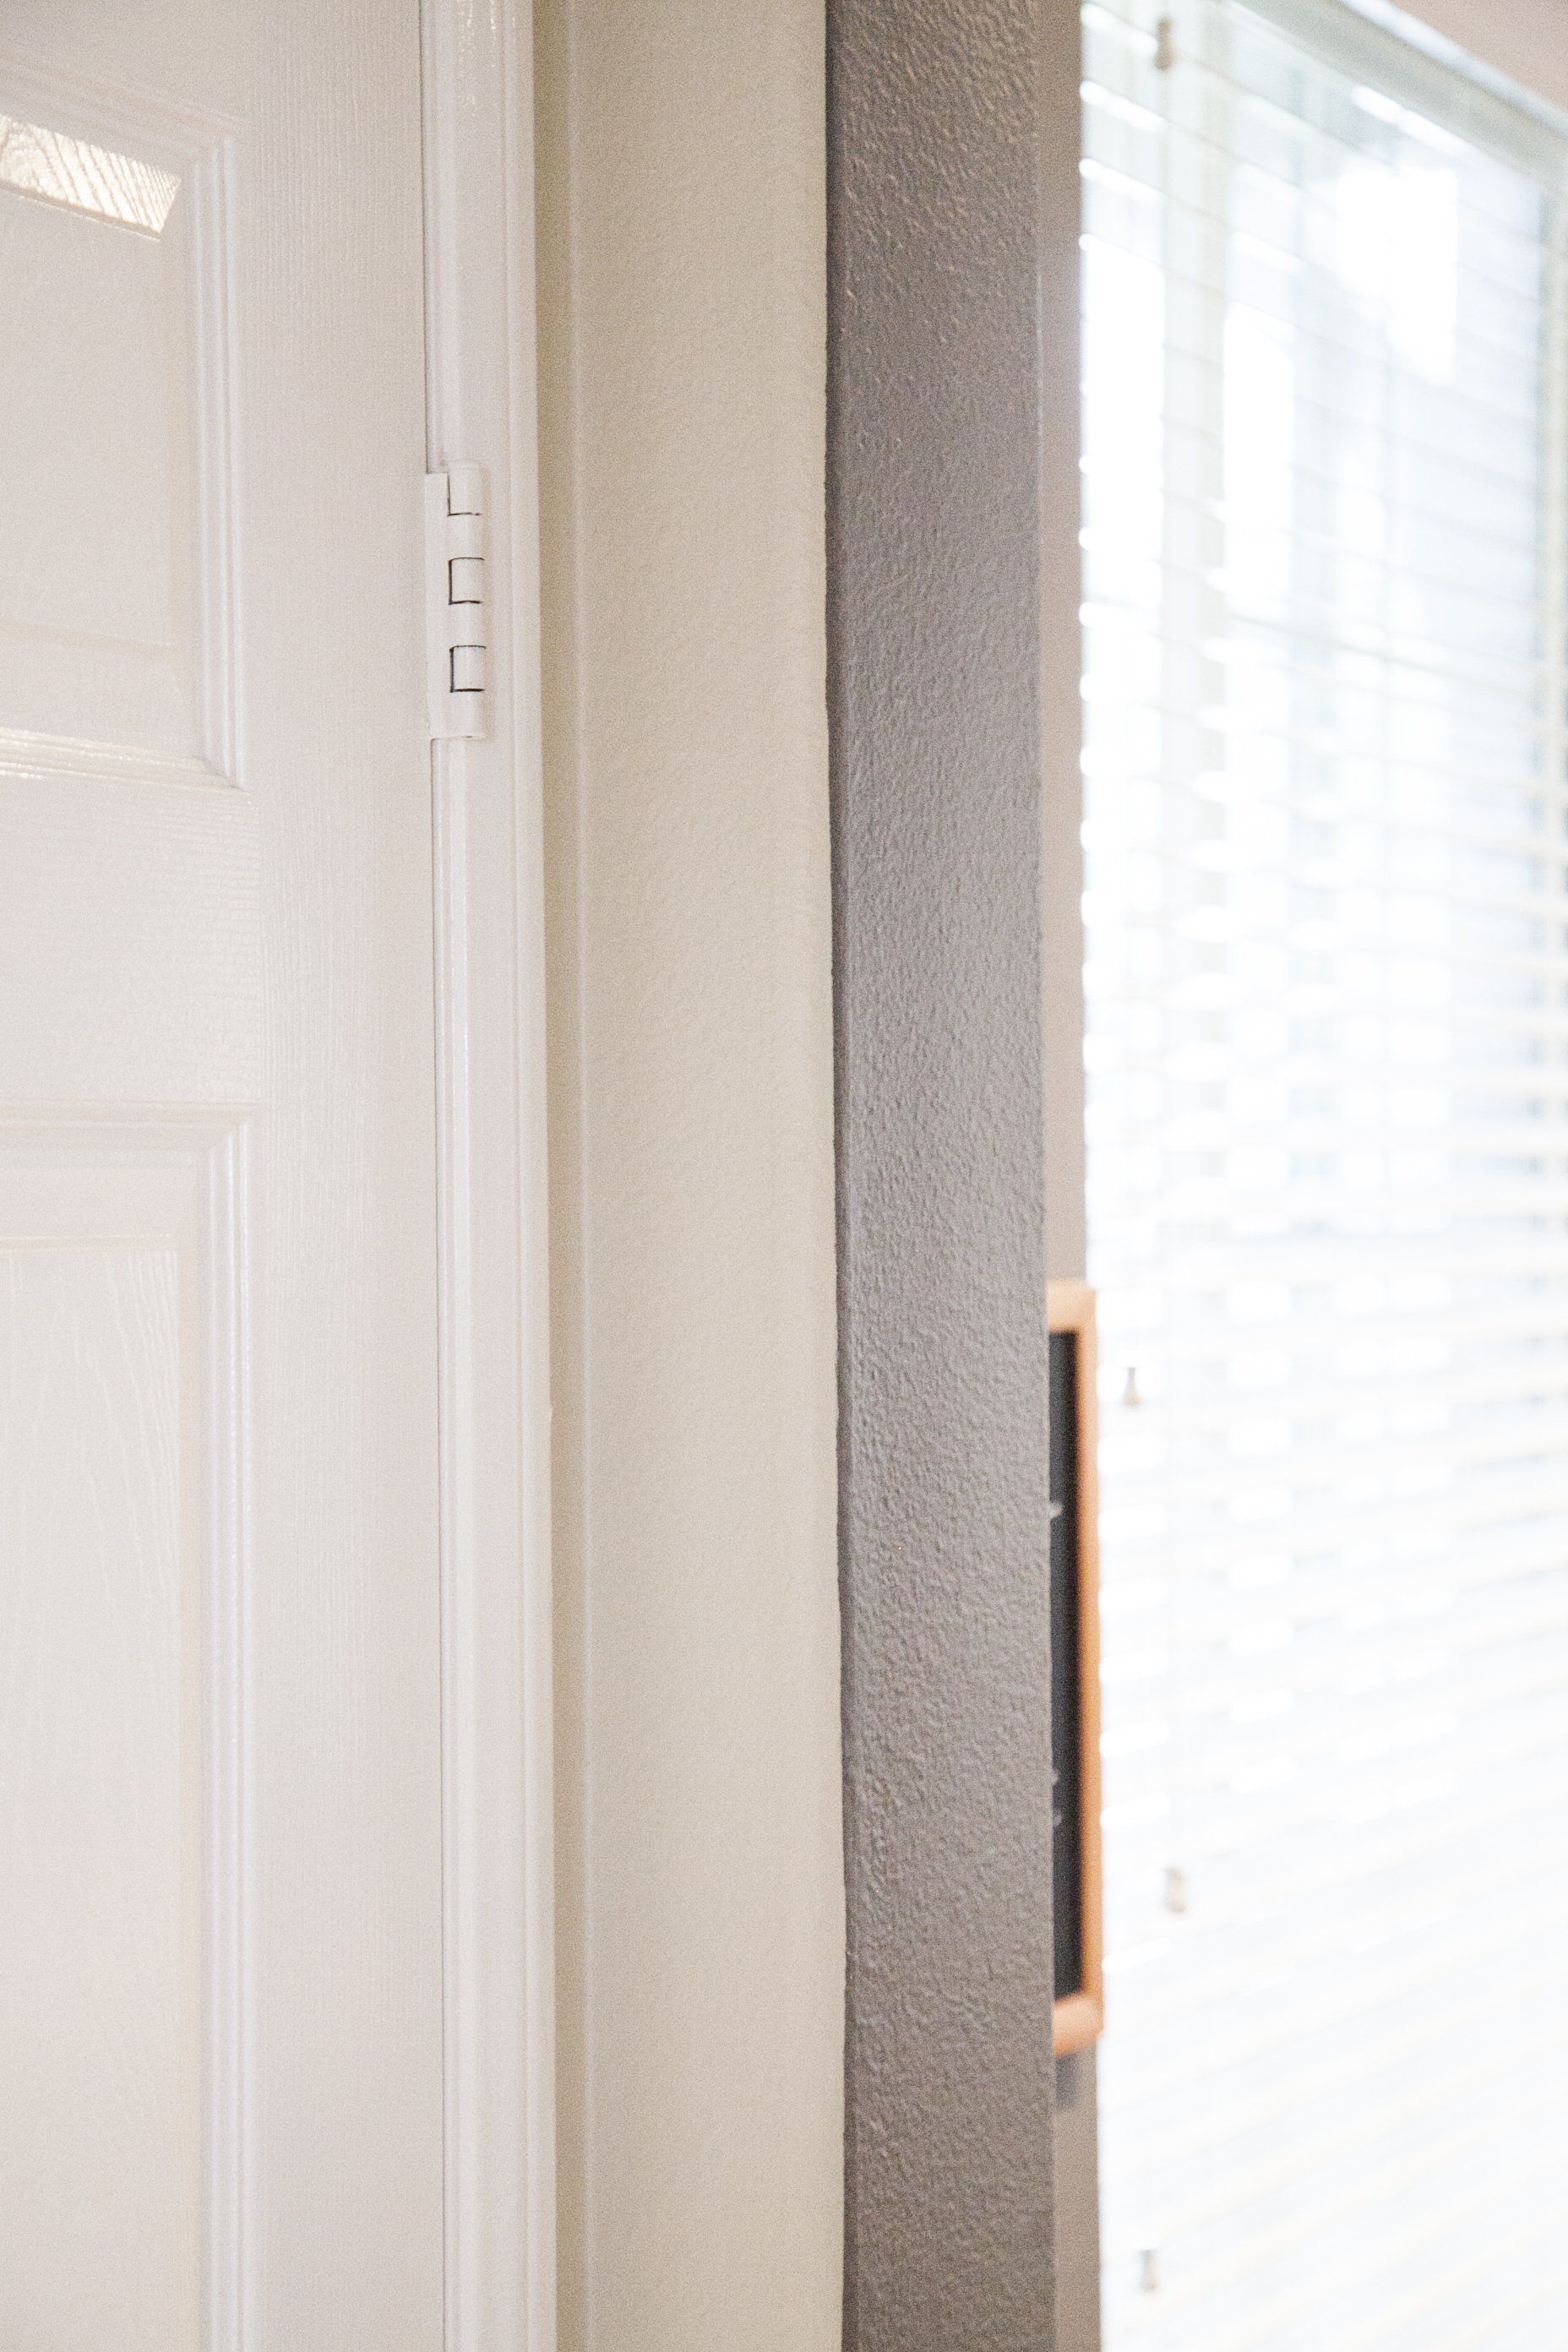
I live in a home that’s walls have rounded corners. It has always been difficult to change colors from room to room with corners that are round. The problem lies in the fact that there is no straight edge in which to transition colors so I’m left with the challenge of either rubbing/blending the colors together or using blue tape to divide the two rooms. Now, as fabulous as the tape works on TV commercials it just doesn’t always work that well in real life. Time after time, I’ve removed the tape to find paint bleeding onto the other side. This leads to touching up by hand and then by hand again because now I’ve touched the other side with the wrong color.
So, several years ago, my favorite brother-in-law, Anthony took some painting classes and learned a pretty cool trick for rounded walls and he taught it to me. Today, I’m going to pass it on to you.
- Paint one side of your corner the color you want.
- Cross over the center line of the corner.
- Let your paint dry completely.
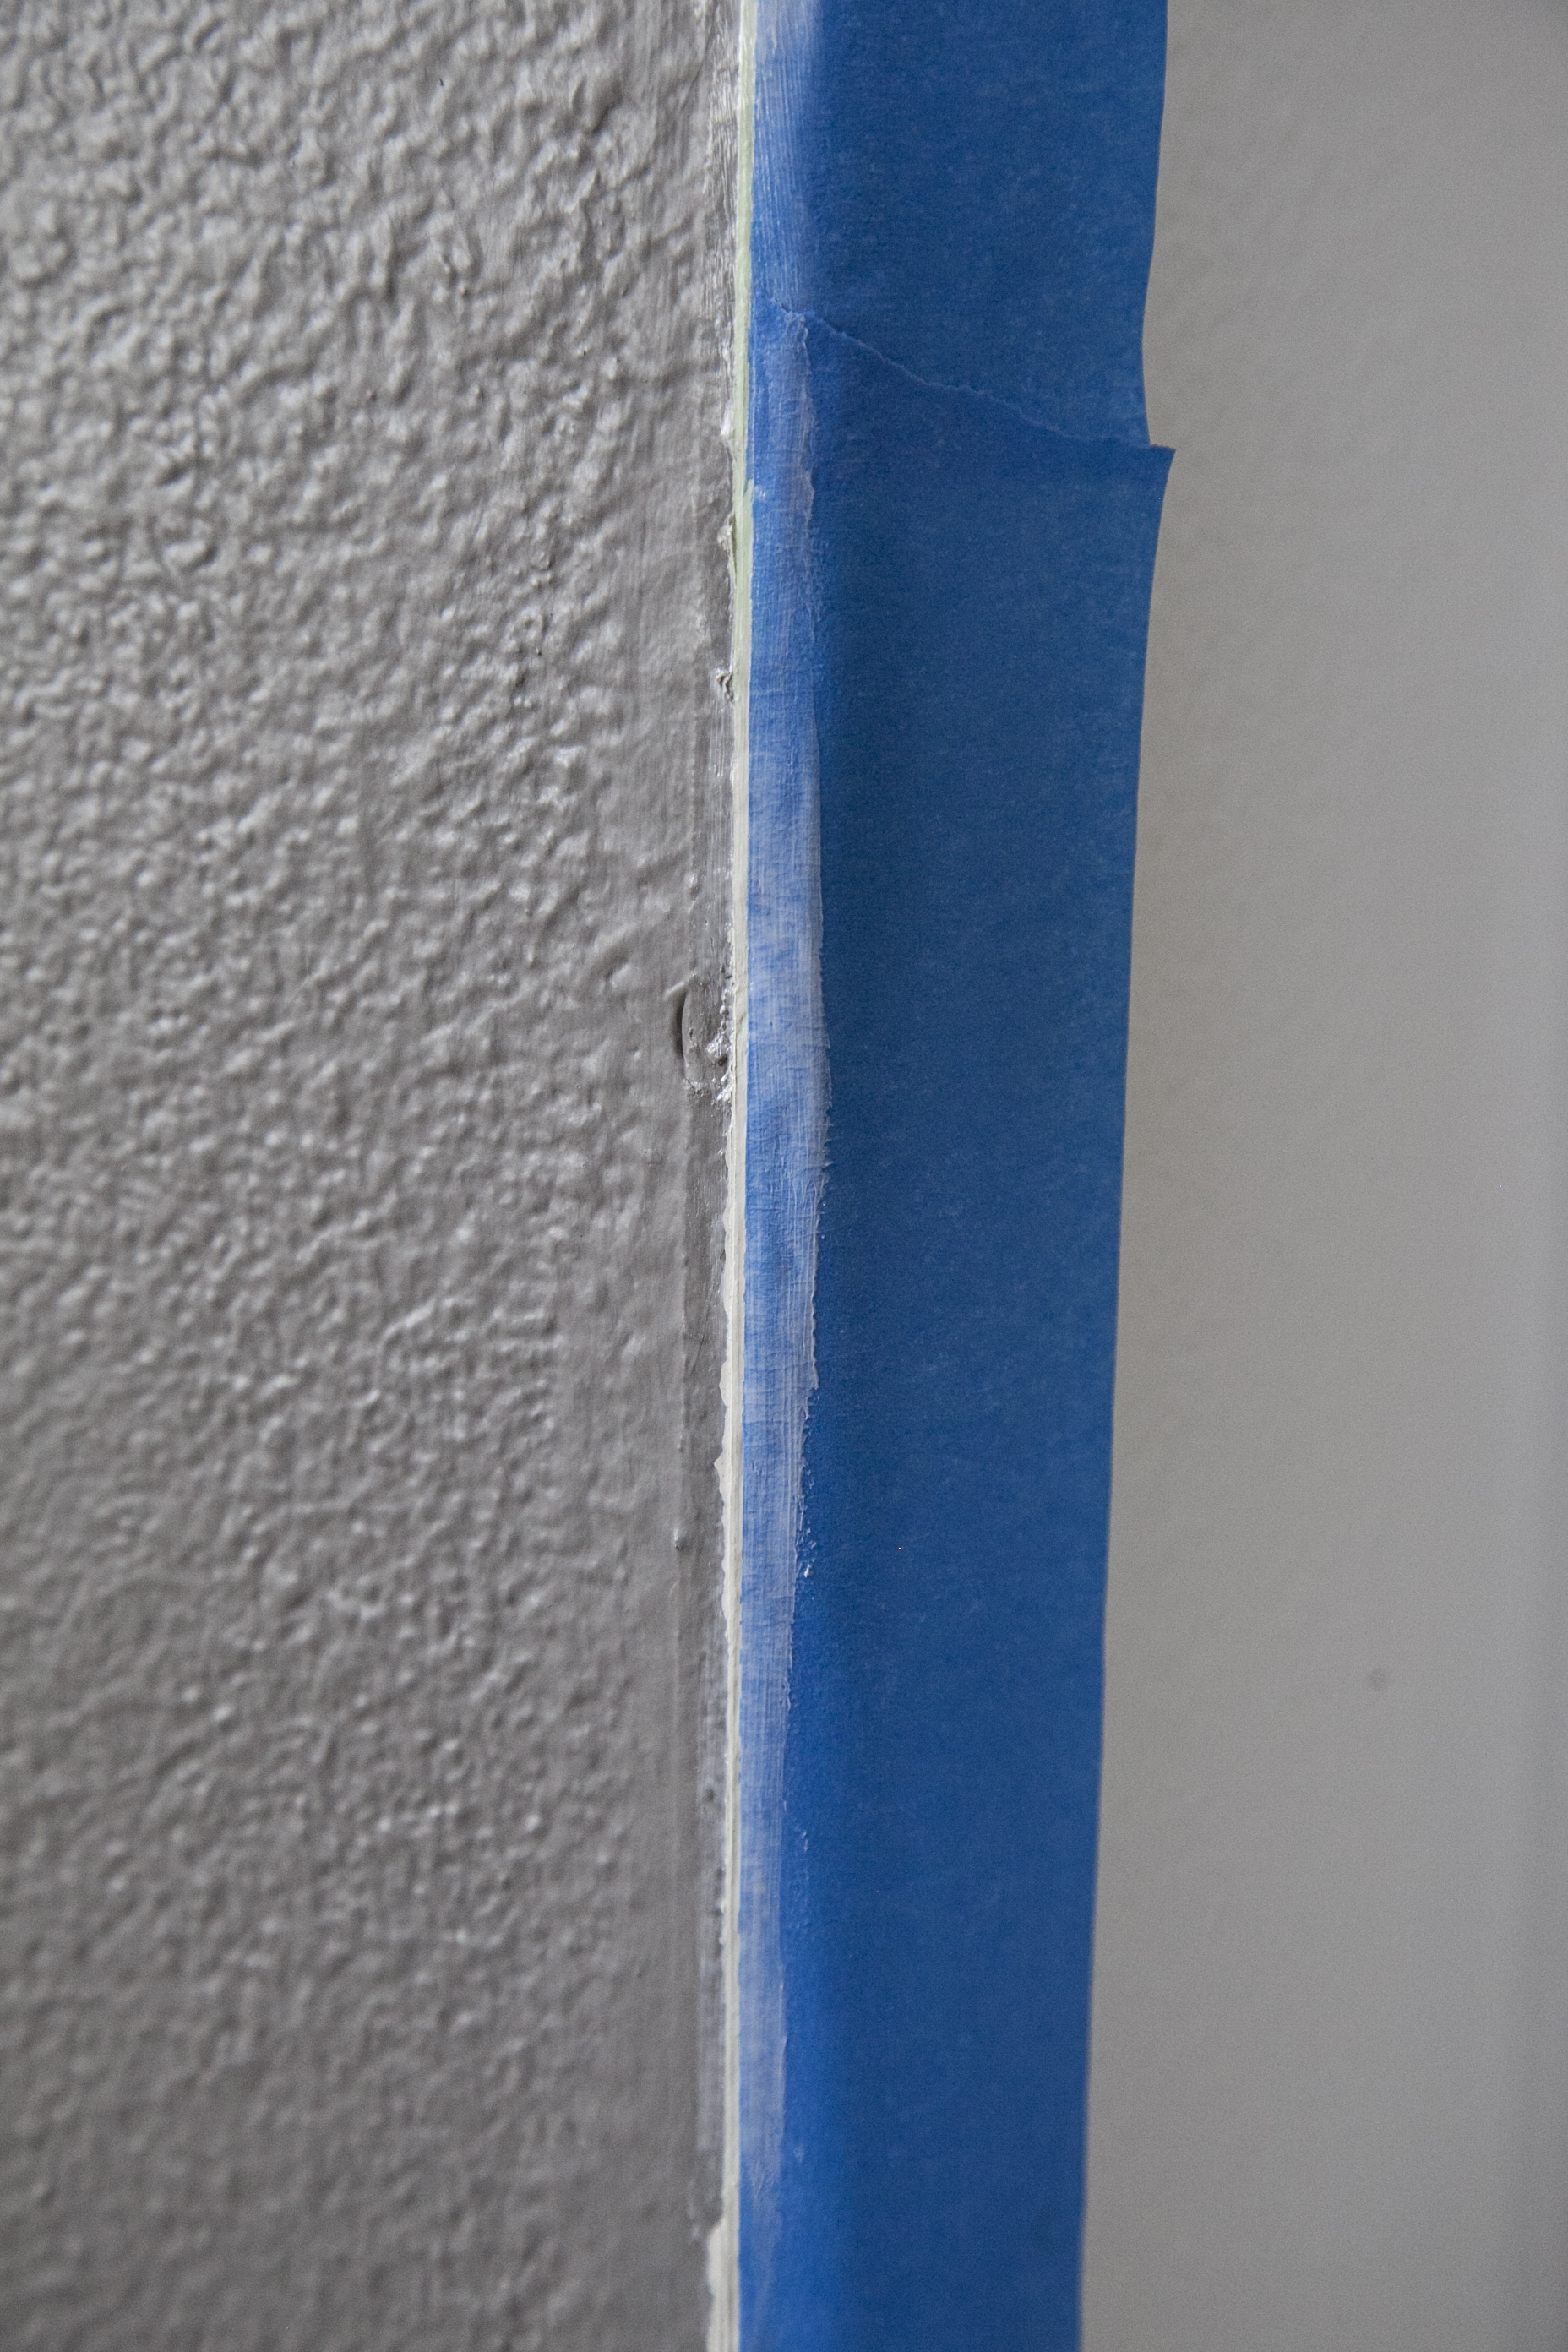
- Then, place your blue tape exactly where you want the new color to start. The tape will be going on the newly painted side of the corner. Rub the tape down as well as you can.
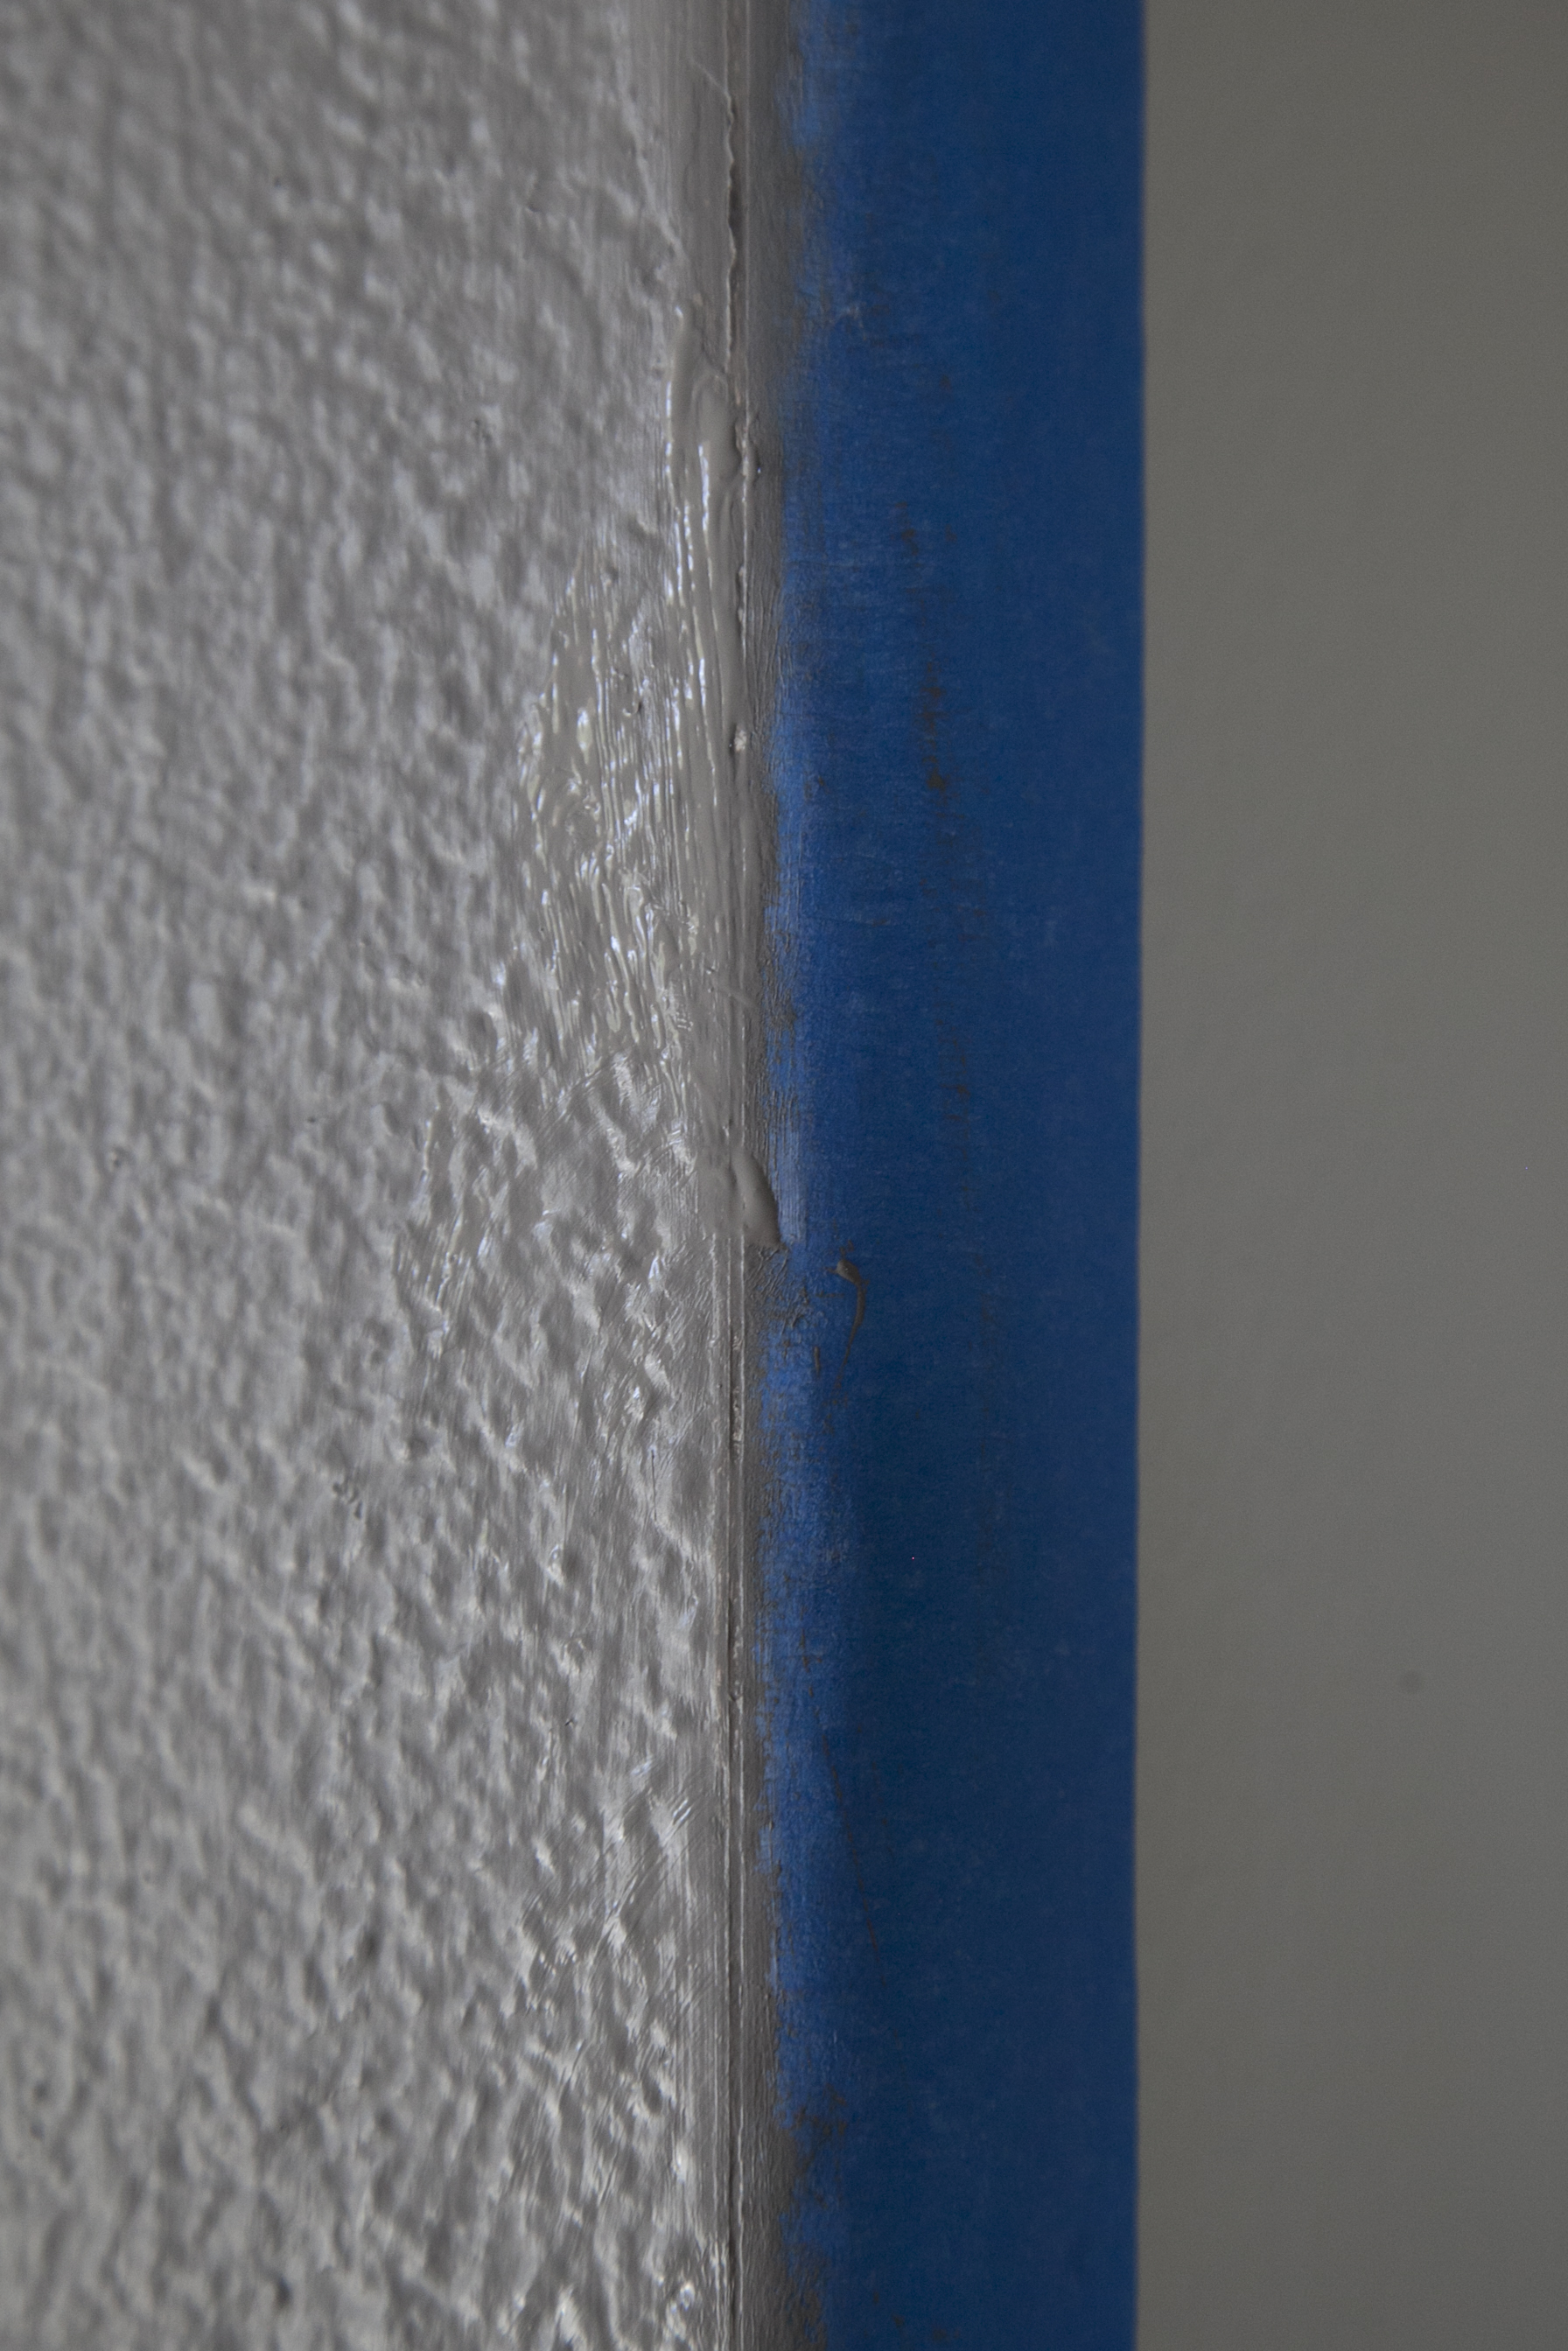
- Spread a very thin layer of white, paintable caulking all along the edge of the tape. The caulking should go over the side that is GOING to be painted not the already painted side of the tape. It should really cover the edge of the blue tape.
- Let the caulking dry completely.
- Now, paint the wall/corner the second color.
- Let paint dry, then remove the tape and you will have a very tight straight line between the two colors. Every now and then I need to touch up a little spot but never like I do with just tape.

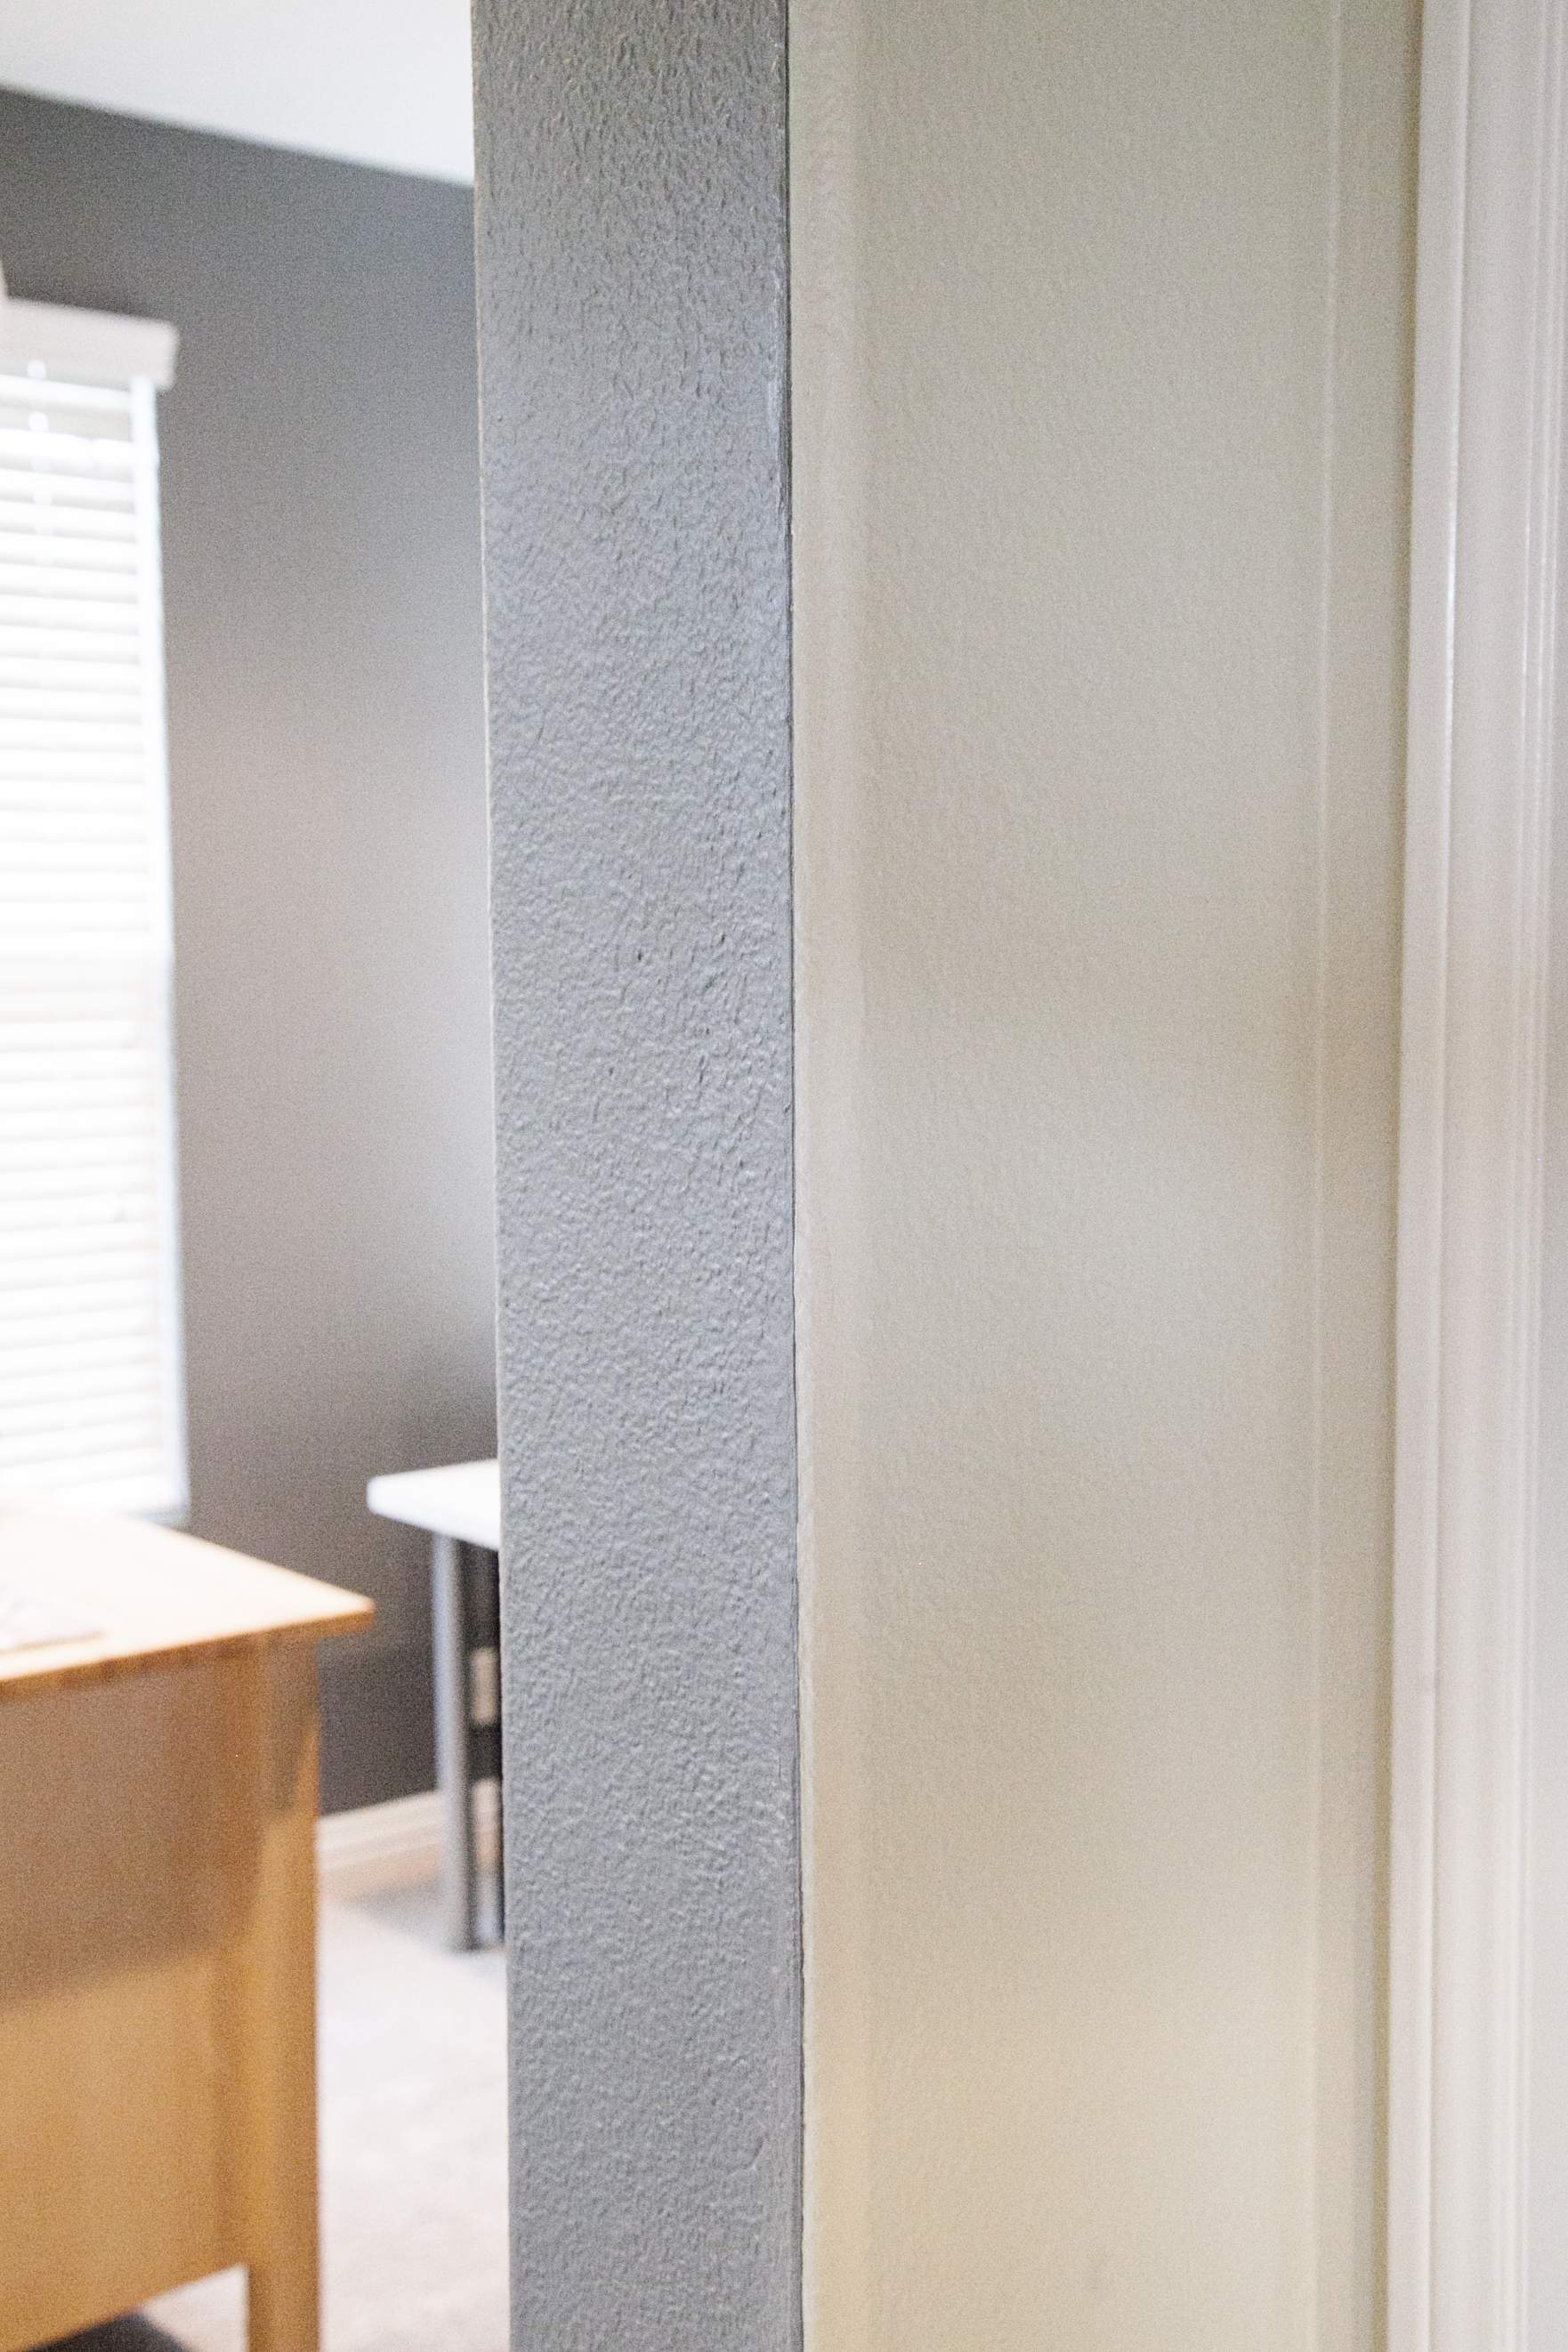
After you see how great it works, you’ll be doing this to all your edges of paint, not just the corners.
Happy painting!


Leave a comment