Hello! Today’s project is the wood wall in my kitchen. I wanted to show you how I completed the wall above the tile. What better way than to just start in on the pictures!

This is what the wall has looked like for the last year and then some. I really wanted to put wood up but I was having a hard time deciding between pallet wood and shiplap. I like the look of shiplap and plan on having it in other places in the house. I really needed to get this kitchen completed, and we just don’t have the money for more wood. I was also afraid of having a different type of tongue and groove feature against the tongue and groove ceiling. It’s all too close and not close enough. So I decided to take the free route. A salvage yard by my house gives pallets away for free, and I just so happened to have several of them in my barn. Decision made. 
Emma and I went out to the barn and cut up several pallets to get these little babies. I put them all through a planer to make them the same thickness, about 1/4 of an inch.

In between the time I cut the wood for the wall, I started rethinking the size of the wood. I really wanted longer pieces. Emma and I went back out to the barn and I cut through the nails this time to get the entire piece of wood. I sat out in the garage and pulled out all the nails, cutting all the edges straight. I piled them up waiting to plane them like the other ones. They were all about a half inch.
After I tiled the back splash I realized the thickness of it was more than 1/4 inch. In fact it was 3/4 of an inch! I really wanted the wood to be thicker than the tile or at least the same.
I have to tell you these things bother me, a lot. When this stuff comes up, I wont sleep until I figure it out. I can’t even tell you how many early morning hours I’ve laid in my bed solving all the little details and problems I’ve come up against while working on this house.
Finally, I figured out that the small pieces of wood were about 1/4 inch and the bigger pieces were about 1/2 inch and together they would almost meet up perfectly with the tile.
That’s how I made the decision to build up a frame under the wall by attaching the small pieces to the studs, and I would attach the larger ones to those. PS it also made the wood meet up to the same thickness as that stupid board at the top.

So that’s what I did. I learned from my other wood feature to paint the underneath so wood wont show through the cracks. I primed the wall and boards and started nailing up the wood.

PS I ran all these boards through a table saw at the same width. I hate the little gaps that different sizes create. These went up so well! Alix came in and really liked the wood look. She really wanted me to leave it natural.

So here is the wall completed. Every one I shared this with really liked the natural wood. However, I never intended on leaving it natural. I’m a people pleaser and actually thought about leaving it like this because everyone liked it this way. However, I have a full plan in my head of what I’m doing and this natural wood was not part of it.


I really liked the look though.

I used the little pieces above the cabinets. I only need to close up the open wall there and these 1/4 inchers were perfect. Later, there will be molding against the ceiling and molding at the top of the cabinets. You will barely see that wood when all is said and done.

Another reason I didn’t leave the wood natural is this wall. It’s the center of my house and very large. Between this and the kitchen wall it started looking like a cabin, not what I’m going for. It also looked like I won some sort of stock in pallet wood. Too much of a good thing can just be too much. 
Ok, so I started priming the wall and I HATED IT! Alix came in and saw it and was like hmmmm… I liked it better natural. Seriously, I started to panic. I like rustic, but I know myself too well, I would never be able to stand this. All those cracks and open nail holes! Like shabby chic, I love it but I know I’d never be able to stand it. My OCD would have me sanding it and trying to clean it up all the time!

OMG


Ok, so I started thinking how about I could fill some of it. I tried caulking a couple of cracks and holes. Alix suggested evening out what holes you can see… always wonder where she got that OCD from… Anyway, I hate caulk, but I LOVE joint compound. I don’t even want to tell you what I’ve made with it or used it for. All I can say is it is one of my favorite building materials. I just started filling every crack and hole with it. As I did, I started feeling so much better. I could feel my blood pressure lowering as I worked.

I LOVE the way it came out. You can still see all of the texture without the rawness of the wood. The whole wall is sealed so I never have to worry about spiders in there or water getting in there. I’m weird about that stuff too. I didn’t get a great response from people about the wall going to white but that’s fine because I know what look I’m going for and I have all my decor planned out and I knew it would all be lost against the natural wood. I want to show case the shelves, not the wall.

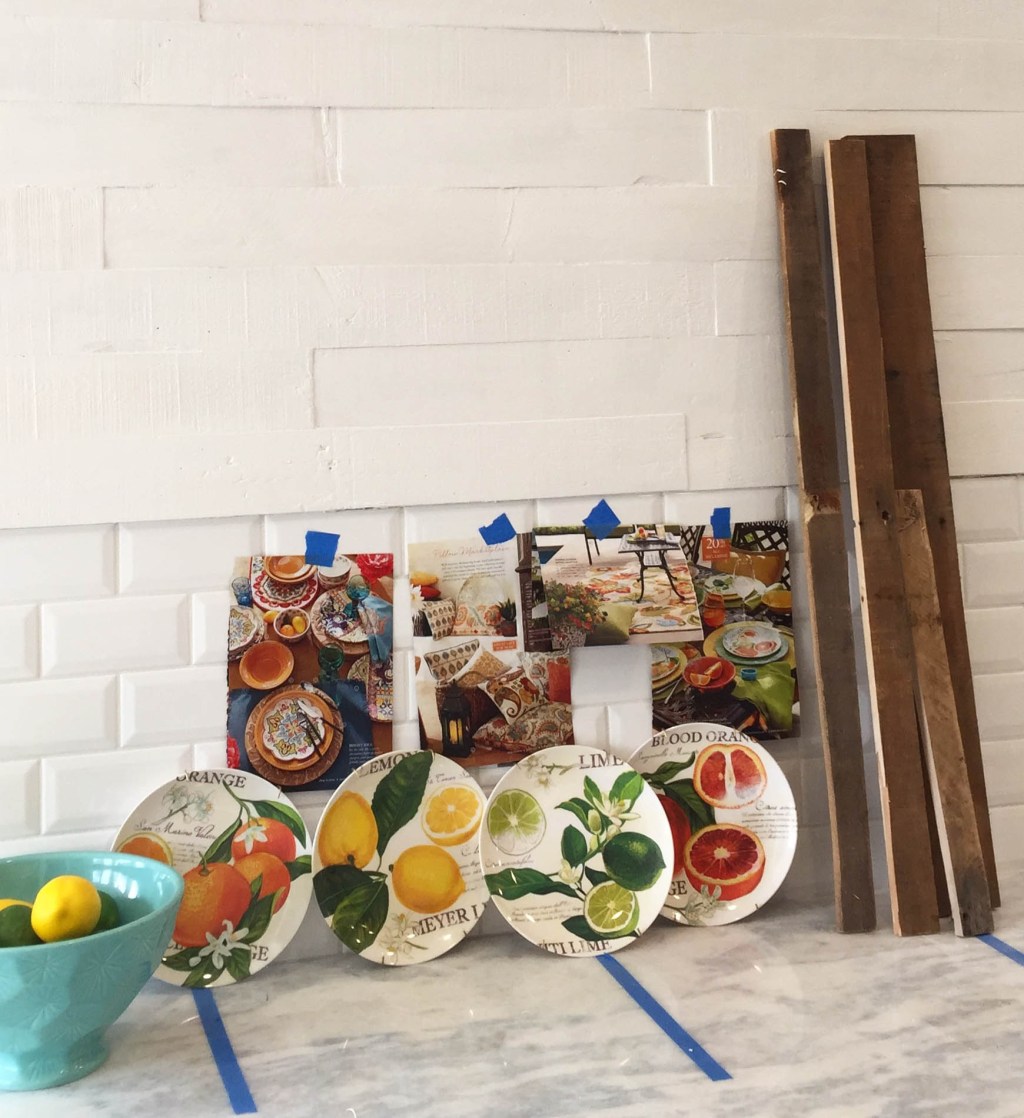
Here are my inspiration pieces for my whole kitchen. Everything goes so well with the nook that is up against this wall. The wall paper is bright and airy. The wood here is the color of my shelves. They are going to be made out of a one foot wide piece of barn wood. It’s rough and rustic and will go so beautifully against this white wall. I can’t wait to show you! 
Here is the final look. I painted it the same color and finish as my cabinets. It feels so good and smooth and secure on the wall.
Next step, open shelves and molding! Thanks for coming along.


Leave a comment